



Stop Guessing and Get Trade Show Graphics That Fit
Trade show graphics should not be a surprise. When your team spends days on design, you expect the printed pieces to look sharp, fit the booth, and match what you saw on screen. That only happens when measurements, file setup, and printing all match up from the start.
This matters even more for big year-end and early-year shows, when halls are packed, budgets are bigger, and timelines feel tight. Those Q4 and January events can set the tone for your whole sales year. In this guide, we will walk through how to measure, plan, and set up graphics so what you approve on screen is exactly what shows up on your booth walls, counters, and displays.
Know Your Display Before You Design a Single Pixel
Strong trade show graphics always start with the hardware. Before anyone opens design software, you want to know exactly where every graphic will live.
Start by listing every surface that will get a graphic:
- Backwalls and end caps
- Counters and tabletops
- Banner stands and towers
- Hanging signs and island exhibit structures
Next, get exact specs from your exhibit provider. That means:
- Overall width, height, and depth
- Visible graphic area for each part
- Bleed requirements
- Any no print zones like pole pockets, frame channels, or areas hidden behind hardware
Real booths do not live in a flat PDF. They have seams, zippers, frames, and monitor mounts. Note where those land so your logo is not cut in half or hiding behind a TV. Also think about viewing distance. A backwall read from across the aisle can use larger, simpler graphics. A counter graphic that people see up close can handle finer detail and smaller text.
Then build a simple graphic map. This can be a quick diagram that shows:
- Each panel and surface
- Exact measurements
- File names or numbers tied to each area
This shared map gives your marketing team, designers, and printer one clear source of truth. It also makes life easier when you reorder graphics later in the season or reconfigure your booth size.
Measuring Trade Show Graphics for Perfect Fit
Once you know your hardware, it is time to measure the right way. Rough guesses lead to blurry or cropped graphics, especially when you are rushing for a holiday or early-year show.
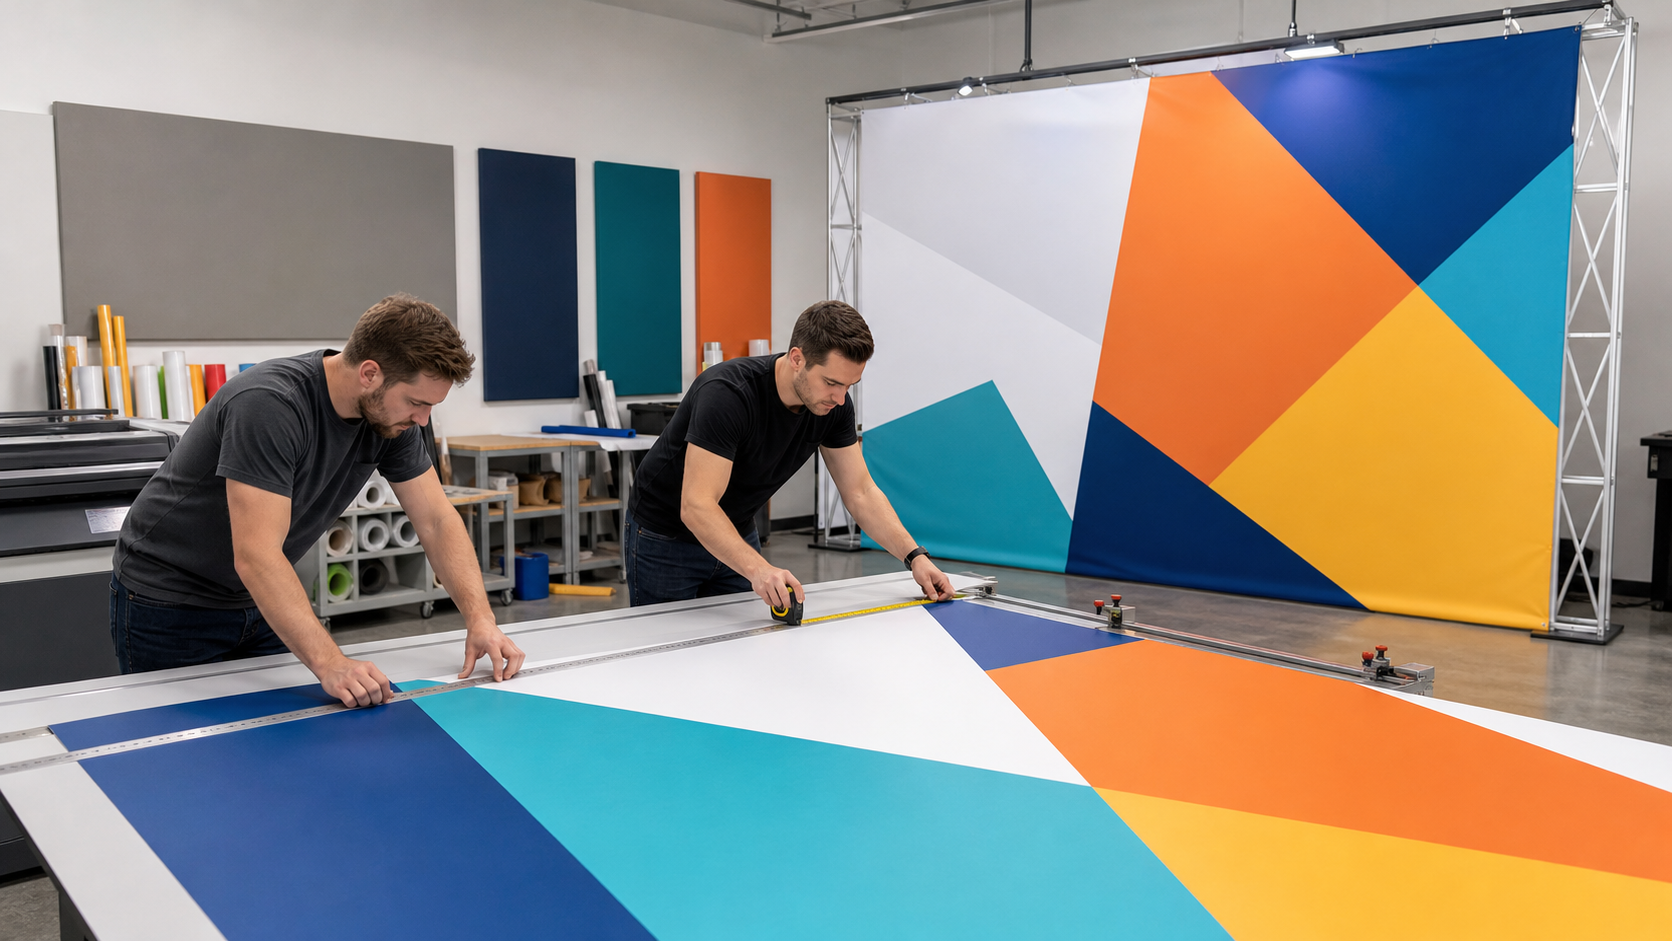
Use a steel tape measure and measure to at least the nearest 1/16 of an inch for fabric and rigid panels. Measure both:
- The total footprint of the hardware
- The actual printable or visible area
For curved or arching structures, measure along the contour, not just straight across the front. Then compare your numbers to the spec sheets from your provider to make sure everything matches.
Now translate those inches into design specs. Large-format trade show graphics are usually built at 100 to 150 dpi at full size. So if your wall is 120 inches wide, the full-size file should be set for that width, then the pixel count comes from the dpi setting.
If your software or computer does not like huge files, you can design at scale, such as 10 percent or 25 percent of final size. For example:
- A 120 inch wide wall at 10 percent scale becomes 12 inches in your file
- You still set the resolution so that, at full size, you end up at the printer’s recommended dpi
Always plan for bleed and safe zones. Many fabric graphics need 1 to 2 inches of bleed on every side for finishing and tensioning. Then mark a live area where all text and logos stay away from the edges. A common late-year rush mistake is skipping bleed, which forces the printer to auto-scale or crop, and that can cause white edges or missing content on printed graphics.
Setting up Print-ready Files so Nothing Gets Distorted
With measurements locked, the next step is building clean, print-ready files. This is where many trade show graphics go wrong, especially when teams are under deadline pressure.
Use print-friendly formats like high-resolution PDF, TIFF, or vector artwork for logos and flat colors. Work in CMYK color space, not RGB, so colors on screen are closer to what will come off the printer. Soft proofing in CMYK before you hit the year-end production crunch can prevent surprises on the show floor.
Protect proportions as you scale layouts. Always lock aspect ratios so graphics do not stretch or squash when you tweak sizes to match final dimensions. Place images at or above the recommended resolution at final size. Pulling a small web image up to wall size will almost always look soft or jagged in print.
Create a simple preflight checklist:
- Convert text to outlines, or include all fonts
- Keep logos in vector format
- Double-check minimum font sizes for the viewing distance
- Make sure critical info is not too close to panel breaks or edges
Use on-screen rulers and guides to check real-world size. For example, if your headline should be readable from halfway down the aisle, mock up a quick view that shows how tall the letters will be in inches. Do the same for product images and calls-to-action on key panels.
Partnering with Your Exhibit Team to Avoid Costly Reprints
Even with careful measuring and design, trade show graphics work best when you partner closely with your exhibit team. Your provider can supply exact templates for each display style, such as pop-up walls, fabric structures, tabletops, and island exhibits. These templates show where bleed, seams, and safe zones fall, so your designer is not guessing.
Proofs matter too. Reviewing PDF proofs and, when possible, physical color swatches helps you see how brand colors will look under show lighting. This can be especially important in winter when show halls in the Northeast can have cooler or mixed lighting that shifts how colors appear.
Timing is another key factor. Trade show graphics need a lead time before shipping, especially around late-fall and early-winter events when production schedules fill up. Work backward from your ship date:
- Set a firm internal design deadline
- Allow time for review and revisions
- Build in a buffer in case a measurement needs to be corrected
A “measure twice, print once” mindset saves stress and rush fixes. It helps when marketing, design, and your exhibit consultant all sign off on final dimensions before anything goes to print.
If you know some graphics must work across multiple booth sizes or different shows, share that early. Your exhibit partner can suggest modular panel layouts that still line up cleanly. Also, ask them to flag any measurement or proportion issues before printing. A quick question now is far better than a reprint later.
Lock in Print-Perfect Graphics for Your Next Show
Getting trade show graphics to print exactly as designed is not magic. It is a clear process: start with precise hardware specs, measure carefully, build files to exact dimensions with the right bleed and resolution, then work closely with your exhibit team at every step.
As you plan for upcoming year-end or early-year events, this is a good time to pull out your current graphics and check how they really fit. Look for stretched images, tight margins, or panels that almost, but not quite, line up. A short review now can help you decide what to refresh before your next big show so your booth looks clean, sharp, and ready for heavy traffic.
Get Started With Your Project Today
Transform your booth into a memorable brand experience with custom trade show graphics designed and produced by First Trade Show. Our team will help you choose the right materials, sizes, and configurations so your message is clear from every angle on the show floor. If you are ready to discuss your needs or have questions about options and turnaround times, simply contact us.