



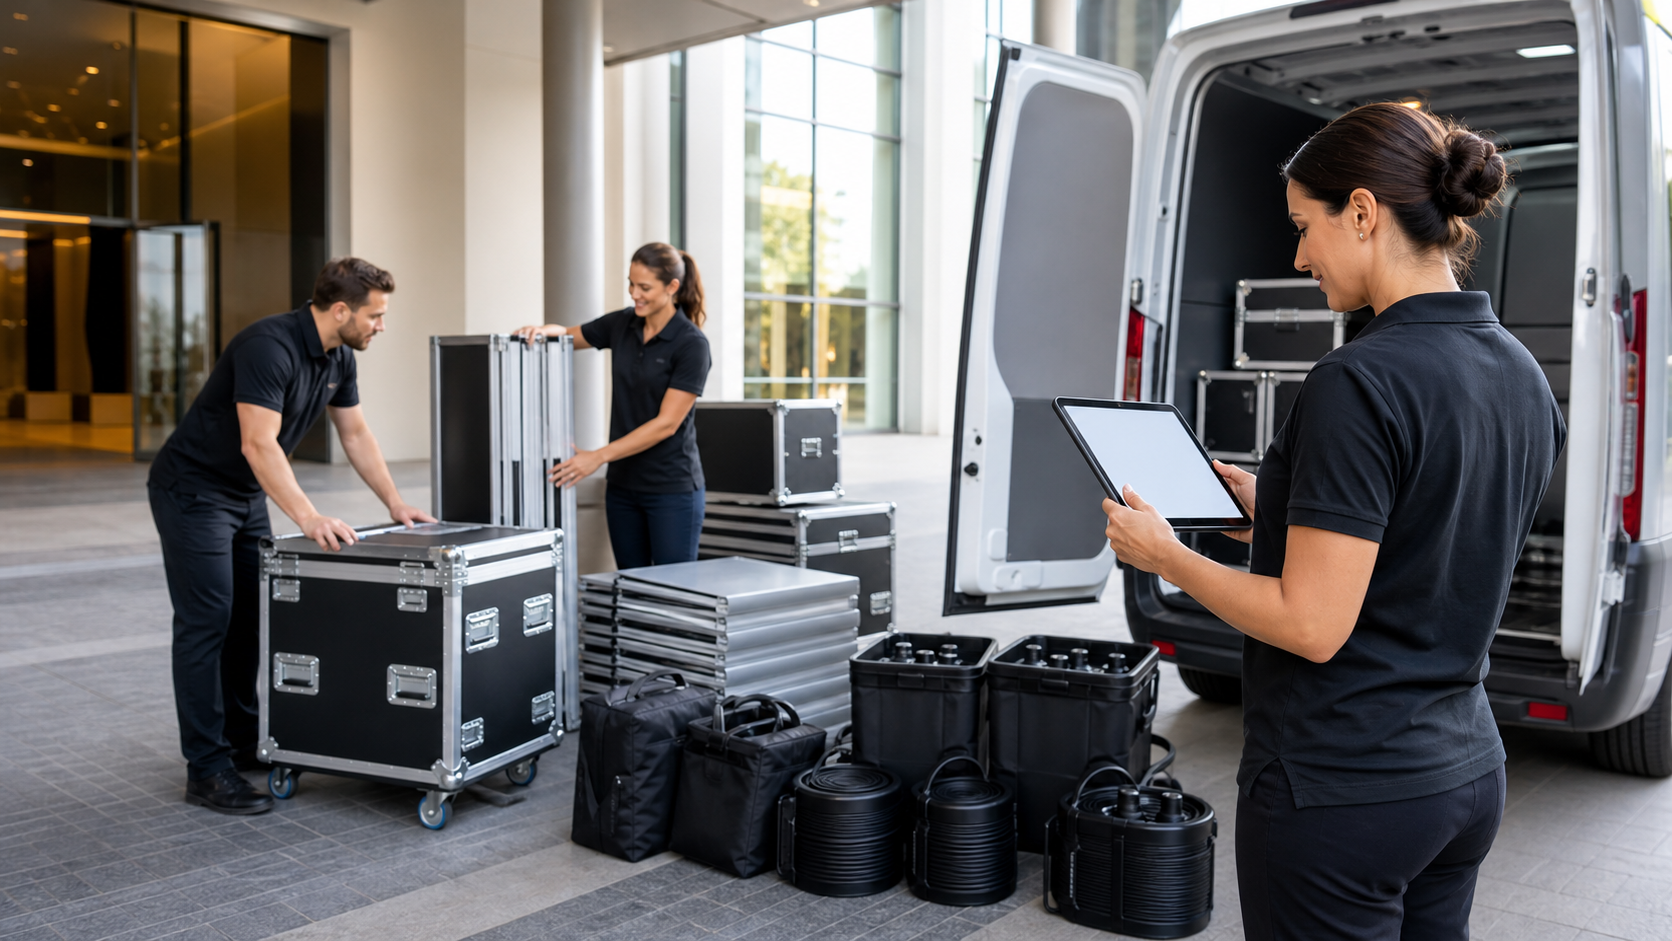
Trade show accessories can make or break a busy show season. When your team is bouncing from regional shows to big national expos, what you pack, how you pack it, and how it all works together matters a lot. With a smart plan, the same core kit can carry you through a whole year of events while still feeling fresh and on-brand.
In this guide, we will walk through how to plan trade show accessories for a multi-show road schedule. We will talk about what to track on your calendar, how to pick pieces that travel well, and how to keep your booth looking sharp whether you are in a small 10×10 space or a large island exhibit.
Make Your Trade Show Accessories Work All Year
Running a road schedule is exciting, but it can also be stressful. Boxes get lost, graphics get mixed up, and setup time gets squeezed. When every event feels like a fire drill, it is usually because the accessory plan was built one show at a time instead of for the whole year.
Thoughtful planning can help you:
- Cut shipping weight and number of cases
- Speed up setup and teardown for small teams
- Keep your brand look clean and consistent across events
- Make a small crew look organized, confident, and ready
With the right approach, the same counters, stands, and graphics can shift from fall conference season straight into year-end events. At First Trade Show, we focus on modular, durable accessories that flex between different booth sizes and layouts so your road kit works hard for you, show after show.
Map Your Multi-Show Calendar Before You Buy
Before you order a single new piece, build your 12- to 18-month event calendar. Even a simple spreadsheet can give you clear direction and keep you from buying items that only work once.
At a minimum, track:
- Show dates and locations
- Booth sizes and shapes, like 10×10 inline, 10×20, or island
- Venue rules, such as height limits or hanging sign rules
- Expected foot traffic and type of crowd
- Team size and roles for each event
Once you see everything laid out, patterns appear. You may notice that you have several 10×10 shows grouped together, or a long run of fall expos followed by a few early spring launches. That calendar lets you decide where to reuse trade show accessories, where you need extra pieces, and where it is worth adding something special for a key event.
Choose Versatile Trade Show Accessories That Travel Well
Multi-show schedules are tough on gear. Displays get packed and unpacked in all kinds of weather, from hot loading docks to chilly convention centers. So it pays to pick accessories built for the road.
High-ROI pieces to consider include:
- Modular counters with hidden storage for personal items and handouts
- Stackable or nesting stools and chairs that pack small
- LED lighting kits that clip or mount to different structures
- Monitor mounts that move from a 10×10 wall to a larger island layout
- Branded table throws that work with different table sizes
Look closely at materials and construction. Some details that help a lot on the road are wheeled hard cases, scratch-resistant graphics, tool-free assembly, and flat-packing parts that stack neatly on pallets. When your cases are easy to move and your accessories go together quickly, you save time on the show floor and reduce freight and drayage headaches.
Create a Swappable Graphics and Messaging System
If you are doing multiple shows, you do not want to reprint everything for each one. Instead, build a core visual toolkit you use all year, then layer in show-specific pieces as needed.
Your core set can include:
- A main brand backdrop
- Logo headers that work on different walls
- Neutral graphic panels that support any product or service
On top of that, create smaller, swappable panels for seasonal or event-specific messages. For example, you might have one set that promotes a year-end offer, another that highlights a new product launch, and another focused on a certain industry audience.
To keep it all straight, set up a simple labeling and inventory system. Many teams like:
- Clear sleeves or folders labeled by event type or season
- QR codes on cases or panels that link to a digital layout guide
- A shared digital asset library so marketing and event staff pull from the same files
With this system, your team can quickly grab the right graphics for each stop without last-minute rush printing.
Standardize Packing, Shipping, and On-Site Setup
When you are on the road, every minute counts. A standard process for packing, shipping, and setup keeps your booth consistent even when staff changes from show to show.
Start with a master packing checklist. Organize it by case so each one has a defined home for certain trade show accessories. Label the outside of each case with what lives inside, not just a random number. This makes it easy to see what might be missing before you leave the loading dock.
For logistics, it helps to:
- Choose shipping methods that fit back-to-back schedules
- Build in buffer days when possible in case of delays
- Use advance warehouse deliveries when it makes setup smoother
On the show floor, a repeatable setup plan saves stress. Create simple diagrams and photos that show exactly how your 10×10, 10×20, and island layouts should look. Store these guides in each case and in a shared drive so rotating teams can recreate a clean, polished booth every time.
Keep Your Road Kit Reliable with Maintenance Routines
Multi-show travel will expose any weak spots in your kit. To stay ahead of problems, build a quick maintenance routine into your calendar.
After every show, do a short inspection before you repack it:
- Check hardware for bent parts or loose connectors
- Look for scuffed or creased graphics
- Test lighting so you are not surprised with dark spots next time
- Confirm that all small parts are back in their labeled bags
Set aside one box as your repair and replenish kit. Stock it with extra bulbs, cables, connector pieces, cleaning wipes, and basic tools. This small step often prevents one missing or broken piece from slowing you down at the next venue.
As seasons change, it also helps to plan a bigger tune-up before your busiest runs, like late fall conferences leading into year-end events. That is a good time to work with a partner like First Trade Show to replace worn items, refresh key graphics, and make sure your accessories are ready for another full schedule.
Turn Your Next Season Into a Test and Refine Roadmap
Your next run of shows is a great live test of your trade show accessories plan. Treat every event like a chance to learn what really helps your team.
You can keep it simple:
- Ask booth staff for quick written feedback after each show
- Review photos of your booth from different events to see what looks clean and what feels cluttered
- Note which accessories draw people in or make demos easier
Over time, this feedback shapes your roadmap. You will see which pieces earn their space in the shipping cases and which ones you can retire or replace. At First Trade Show, we enjoy helping teams turn that real-world feedback into a clear plan so every stop on your road-schedule feels coordinated, consistent, and ready for visitors.
Maximize Your Trade Show Impact With the Right Accessories
Make your next event smoother, more professional, and more memorable with carefully chosen trade show accessories that support your goals. At First Trade Show, we help you select pieces that not only look great but also improve traffic flow, storage, and brand visibility. If you would like guidance or have specific needs, just contact us and we will help you build a tailored solution for your next show.